Let’s get something straight. I’m cheap!
Who needs an immersion wort chiller when you can easily place your kettle in an ice bath, and have cooled wort within an hour.
Then I had an epiphany! How much was my time worth? If it was taking me an hour to get my wort cooled to under 70 degrees so I could pitch my yeast, was I really saving anything? My time is valuable, and I’m always looking for ways to improve or shorten my brew day.
Is an immersion wort chiller necessary? I was about to find out.
No Wort Chiller Process
It turns out that chilling my wort wasn’t a trivial task.
As the boil was winding down, I filled my kitchen sink with cold water. In went the kettle after the boil so I could start the cooling process. This is just the initial step, as within 10 – 15 minutes, that water was going to start heating up and lose it’s cooling potential.
While this was taking place, I proceeded to fill my laundry tub with more cold water. After about 10 minutes, I transferred the kettle to this second sink for the next step in the process. Now comes the ice bath. Since I’m cheap, I’ve got bottles of water in the freezer iced up and ready to go. After about 20 – 30 minutes, I’m getting close.
Step three. Back to the kitchen sink. Again, fill with cold water and transfer kettle one more time to try and get it down those last 10 degrees or so.
By this point, I might be lucky if I’m at 70 degrees. Given I live in the mid-west, I can stick my kettle or fermenter in the garage in the late fall to early spring to get it down those last 5 degrees. Otherwise, I’ll put the fermenter in my basement, which is always in the low 60’s, and wait until I pitch.
What a royal pain in the ass.
So is a wort chiller necessary? Well if I’m trying to shorten my brew day, I’m thinking it was worth giving it a shot.
Wort Chiller Process
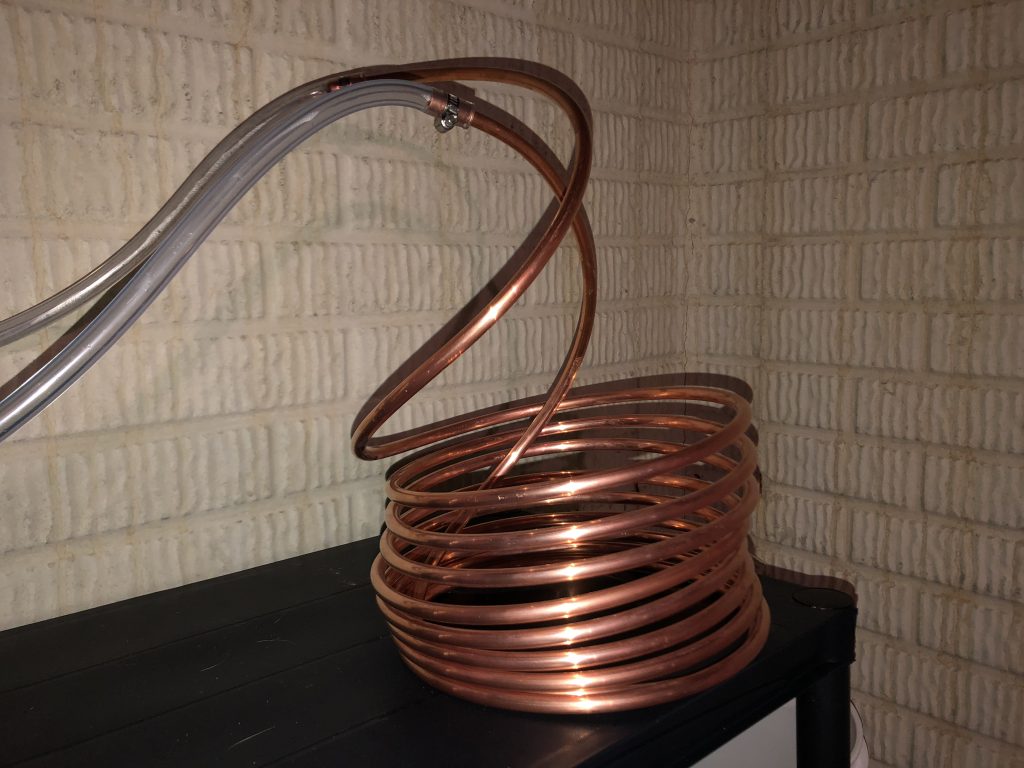
After doing a bit of research, I decided to invest in an economy wort chiller sold by Adventures In Homebrewing, my go to store for brewing supplies.
This isn’t your top of the line model, but it got great reviews, and the price was right – $40.

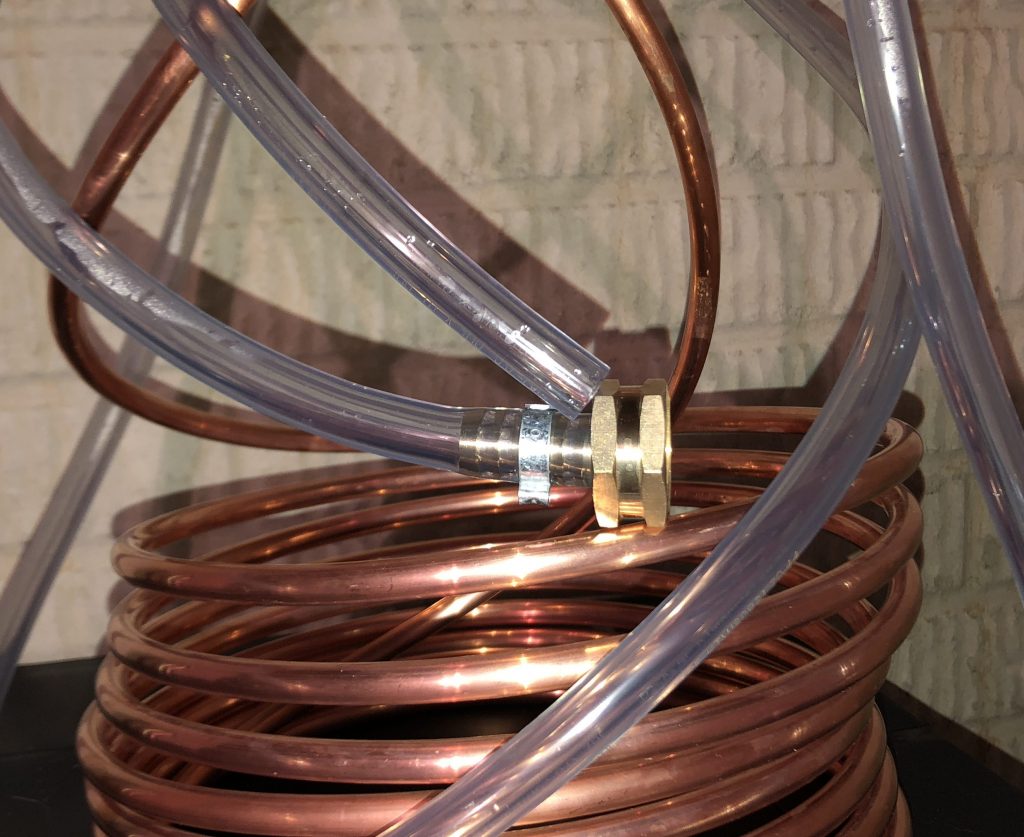
I gave it a test run before it got anywhere near my wort for the first time, and I snugged up the clamps for added safety. I couldn’t wait to test this thing out, so I brewed up a 2.5 gallon batch, and anxiously waited for the boil to wind down to the last 10 minutes. In went my brand spanking new wort chiller to the boiling wort to ensure it was sanitized.
I carried the kettle over to my laundry tub, and did a quick connection to the washer hose faucet. Now I’m on a well, so my ground water in the late fall and winter is under 60 degrees. I was dying to see how quickly this was going to work.

You ready for this?
Within 10 minutes, my 200+ degree wort was cooled to 76 degrees.
Within 15 minutes, it hit 67 degrees, my target pitching temp.
I also brew smaller 1.5 gallon batches from time to time when I want to experiment with things. Total cooling time for my last small batch was less then 10 minutes.
Is an immersion wort chiller really necessary? If you value your time, I’d say yes! I went from well over an hour from the end of boil to pitching my yeast without using a wort chiller to about 20 minutes with an immersion wort chiller. I’ve easily saved well over an hour, and the total cost was $40.
Pretty sure that will pay for itself after a few brews.
Is An Immersion Wort Chiller Necessary?
It absolutely is not necessary, there are other ways of cooling your wort. Is having a wort chiller going to save your a shit ton of time? Hell yes it is!
Forget about the benefits of cooling your wort quickly to avoid avoid off flavors. I’m all about the time savings! If I get the added benefit of not having dimethyl sulfide fucking up my beer (that I probably can’t even taste), that’s gravy.
The only thing I’m upset about, is it took me this long to realize the benefit of owning an immersion wort chiller.
Cheers…
Leave a Reply