When it comes to homebrewing, folks seem to freak out whenever it comes to brewing up a lager.
Excuses like; I don’t have the right equipment, I can’t get my fermentation temperature into the low 50’s, or I don’t know how are all rubbish. Brewing a lager doesn’t need to be difficult, in fact, it’s really not anything more complex than brewing an ale.
This post is going to document a super easy lagering method that any homebrewer can follow. In the time it takes to whip up an ale, you can brew yourself a delicious lager.
What Is A Lager
First off, let’s examine how a lager differs from an ale.
It’s the strain of yeast you use, nothing more then that. Lager yeast is bottom fermenting, where ale yeast is known as top fermenting. So if you want to brew yourself a genuine lager, you’ll have to purchase a lager yeast.
Now if you’re using a lager yeast, one key difference over an ale is the temperature you ferment your beer. Traditionally lager’s are fermented cooler than ale’s. With an ale you may be fermenting in the mid to upper 60’s, but with a lager you would want to be in the low to mid 50’s.
For this easy lagering method exercise, we’ll assume you don’t have a fermentation chamber that you can use to control temperature. We’ll have to come up with an alternative.
I stress the word traditionally. Just because lagers should be fermented in the low 50’s, doesn’t mean you can’t brew a great lager at temperatures warmer then that. I’ve proved you can brew a great warm fermented lager in a previous post.
Remember, lager a German word, translates as store or storage. It doesn’t say anything about wort or brewing process.
Easy Lagering Method
Here’s my easy lagering method that any extract or all-grain brewer can follow. At a high-level, here’s the basic steps you’ll follow when it’s time to ferment:
- Create a yeast starter (at least 12 – 24 hours before pitching)
- Chill wort as low as possible given your current setup
- Pitch yeast after chilling
- Ferment for 7 – 10 days
- Diacetyl Rest for 2 – 3 days
- Cold crash & Fine
- Lager for 1 – 2 weeks
Using the above steps as a guide, the entire process from grain to glass should take you no more then 3 – 4 weeks.
Let’s explore the easy lagering method steps in a bit more detail.
Create A Yeast Starter
When brewing a lager, you’ll want to pitch more yeast then you would if brewing an ale (about twice as many yeast cells).
You can use any one of the yeast calculators out there to help you identify the number of cells required for pitching. Or…
As homebrewers, we seem to get too hung up on cell count. The alternative is to create a starter known as the shaken not stirred method, to ensure cell viability. I’ve used this before we great success.
It doesn’t really matter which way you go, you just want a good health dose of yeast to pitch.
Chill Your Wort
Get that sucker as cool as you can with your wort chiller, then cool it some more. Don’t be in any rush to pitch your yeast. In fact it’s better to pitch cooler and let your wort come up to the appropriate fermentation temp.
Once you’ve chilled your wort to your ground water temperature, rack it to your fermenter of choice and park it.
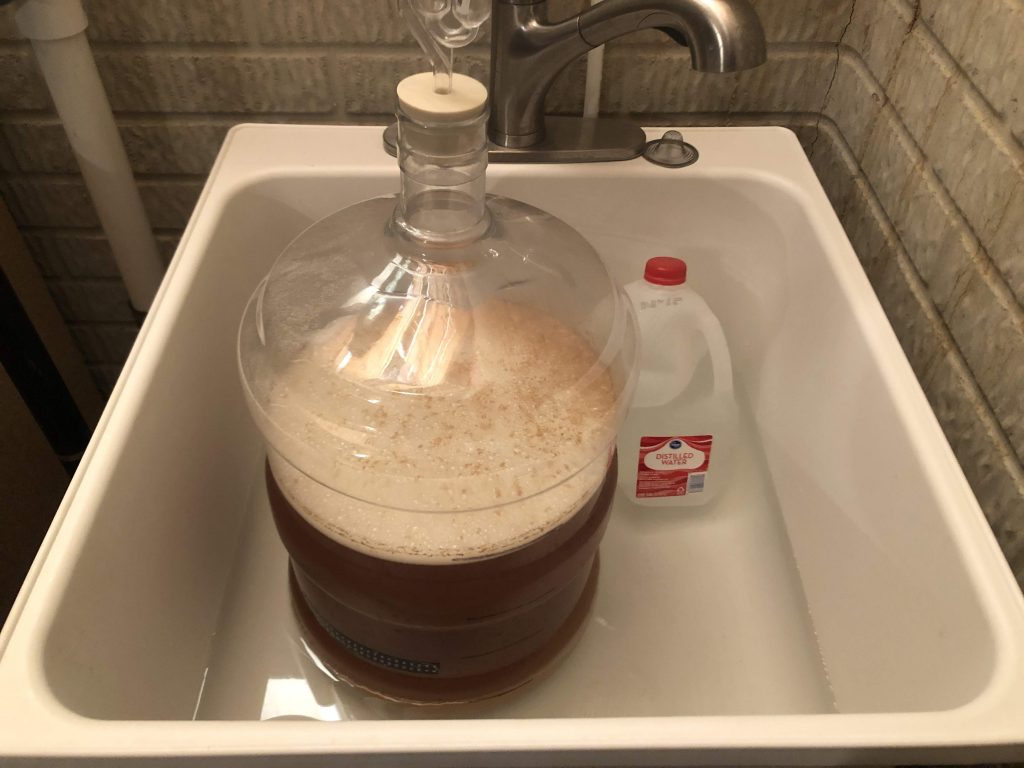
Find a spot where you’ll be fermenting, and you’re looking for the coolest spot in your house. That might be in a basement with a cooler ambient temperature, or a utility sink that you can fill with 2 – 3 inches of water.
Let your wort cool for another 12 hours. We want to get that down to the temperature you’ll be fermenting at.
Pitch Your Yeast
Once you’ve been able to cool your wort, it’s time to pitch your yeast. Give that starter a good swirl to homogenize the solution, and pour it in your fermenter.
Feel free to decant, but there’s really no need.
Now we wait…
Fermentation Location
My goal is to purchase a chest freezer that I can use for a fermentation chamber. I firmly believe that temperature control during your fermentation is one of the most important things you can do in this homebrewing hobby. Until that time, I need to come up with some alternative solutions to control temperature.
I brew and ferment in my basement. Given I live in Michigan, I’m lucky enough to have pretty constant temperatures in my basement. During the summer months, the ambient temperature seems to hover in the mid-60’s, while in the winter months it will drop to the low-60’s.
This is ideal for my ale’s, and I typically need a means to heat my fermenter to get me up to my ale fermentation temps in the mid to upper 60’s.
When it comes to brewing lagers, I need to try and cool things down a bit. I’ve found a nice ice batch in my utility sink seems to do the trick rather nicely. Simply fill the sink with 2 – 3 inches of water, and swap out frozen gallon milk jugs every 12 hours. I’ve found that will get my wort below 60 degrees.

Fermentation & Diacetyl Rest
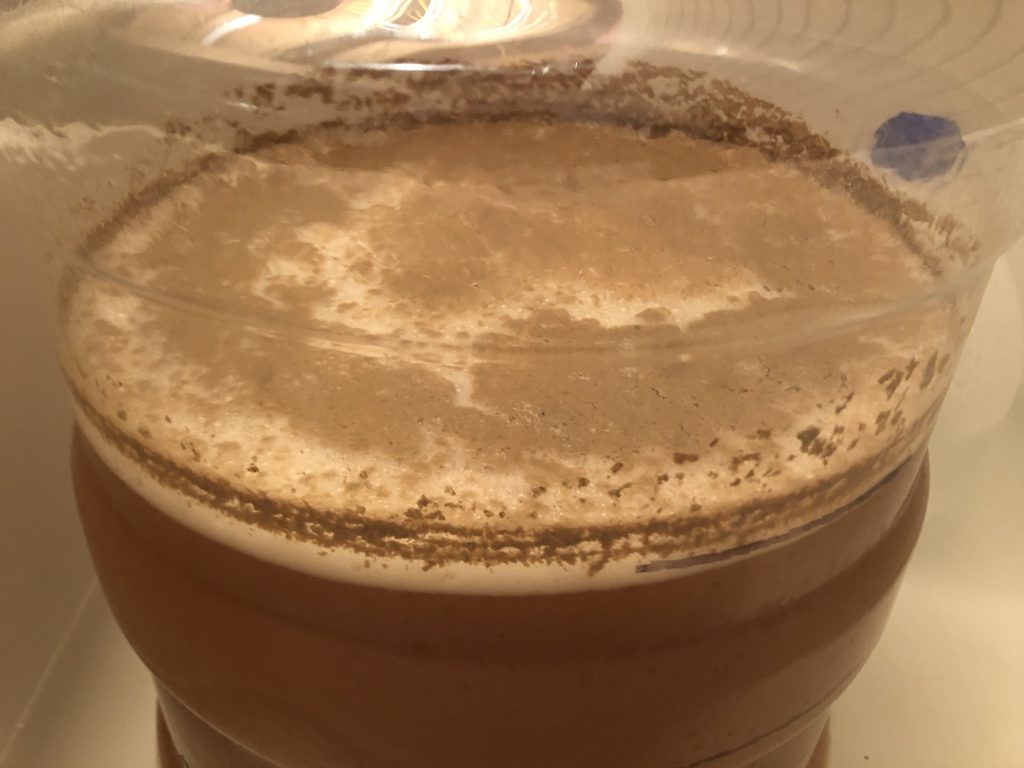
Once I see the krausen drop and airlock activity slow to almost nothing, I’ll stop the icing. I’ll let the fermenter sit in the water bath with no ice for another 24 hours to start gently warming up the temperature. Another 24 hours later, I’ll drain the water and again let it sit for an additional 24 hours. Finally, I’ll apply some gentle heat in my makeshift fermentation fort for 2 – 3 days.
The temperature range for my setup during active fermentation hovered between 57 – 59 degrees. That’s wort temperature as measured with my fermometer.
Once I removed the ice, the temperature rose to about 60 degrees. After draining the water the temperature steadily climbed to 62 degrees. Applying heat, I was able to sustain a steady 65 degrees for my diacetyl rest.
Total fermentation time for my last lager, using Saflager W-34/70 was 9 days.

Cold Crash and Fining
After fermentation was complete, I placed the fermenter in my 39 degree kegerator for a cold crash. I let things sit for 5 days (mini lager) before hitting it with gelatin, where I let it chill for another 2 days.
Two weeks after pitching my yeast, I was racking to a keg. I burst carbed at 30 PSI for 24 hours before dialing things back to serving pressure where I let it lager for another week.
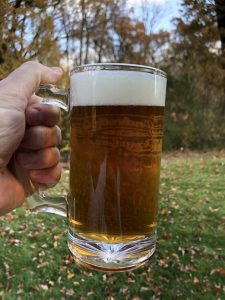
Just over 3 weeks after my brew day, I was enjoying an ice cold, crystal clear mOktoberfest. That’s a pretty good looking beer!

Easy Lagering Method Observations
I don’t have the patience to sit around for months waiting for my beer to finish. My easy lagering method just works, and it works well without having to wait 6+ weeks to enjoy the beer you worked so hard to create.
There are no detectable levels of off flavors with this easy lagering method, it’s crystal clear, and the taste is better then any store bought Oktoberfest I’ve had this year.
Now I will add that it’s kind of a pain in the ass having to swap ice jugs every 12 hours. I almost forgot to do it once as I was rushing to get to work.
But if you’re diligent with this, you can keep your fermentation temperature near lager like temps.
Let me know your thoughts. I’d be interested in knowing if others have had luck following a similar process to my easy lagering method.
Cheers…
Leave a Reply